Summer Church Signs: What Are The Best Sayings And Ideas For The Season?

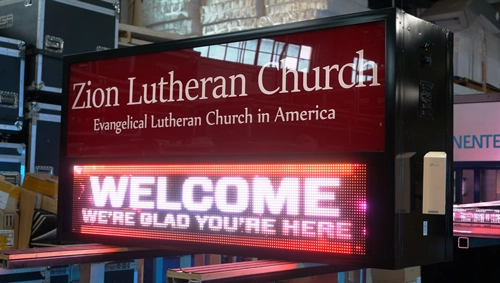
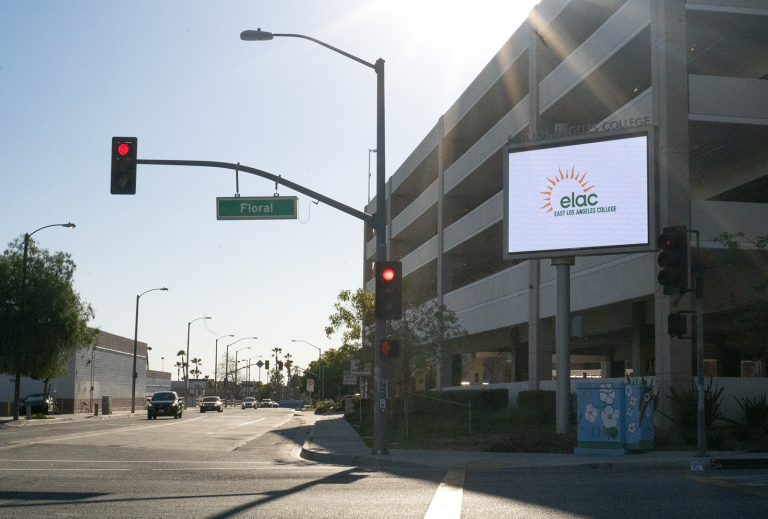
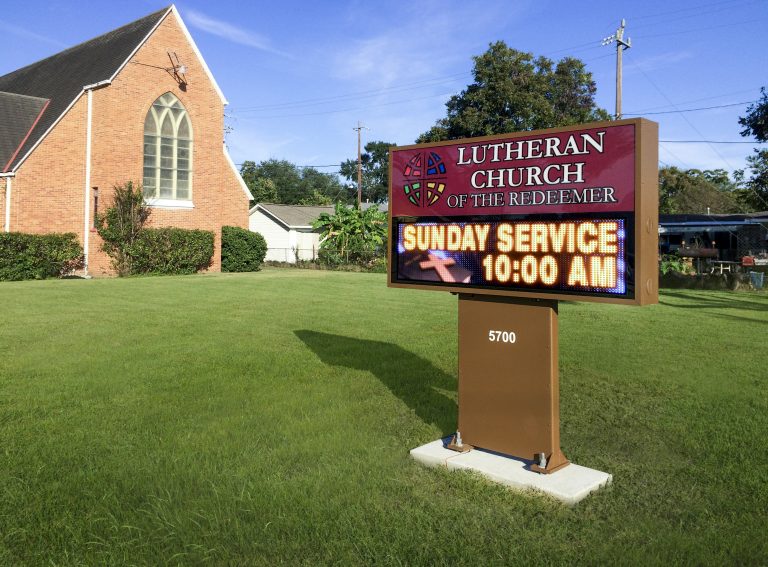
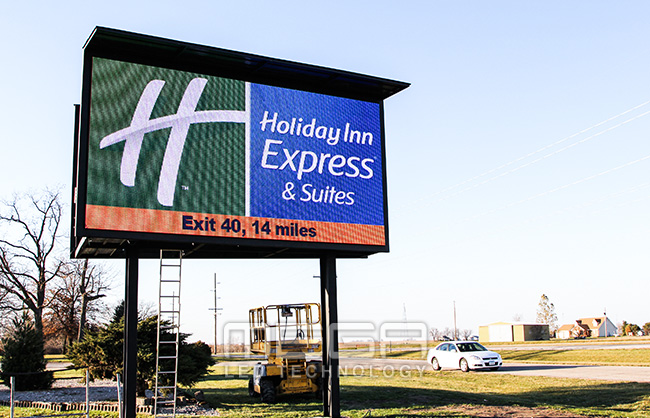
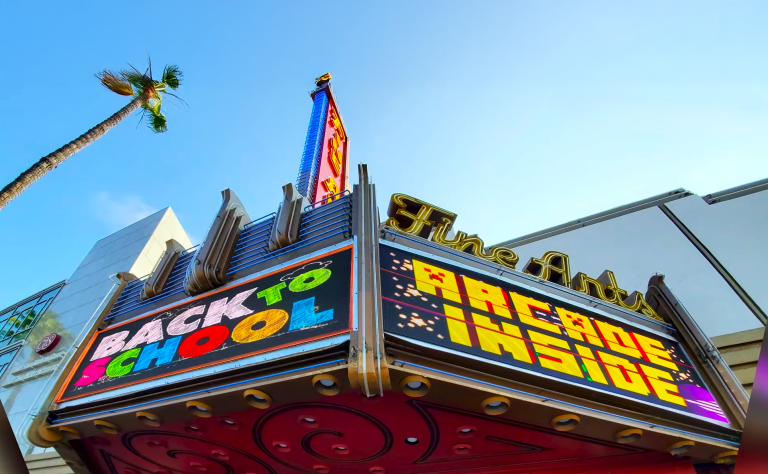
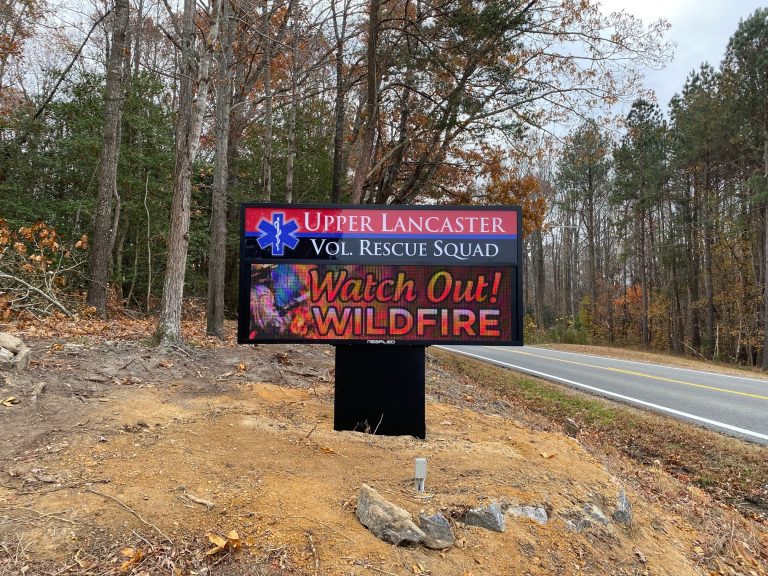
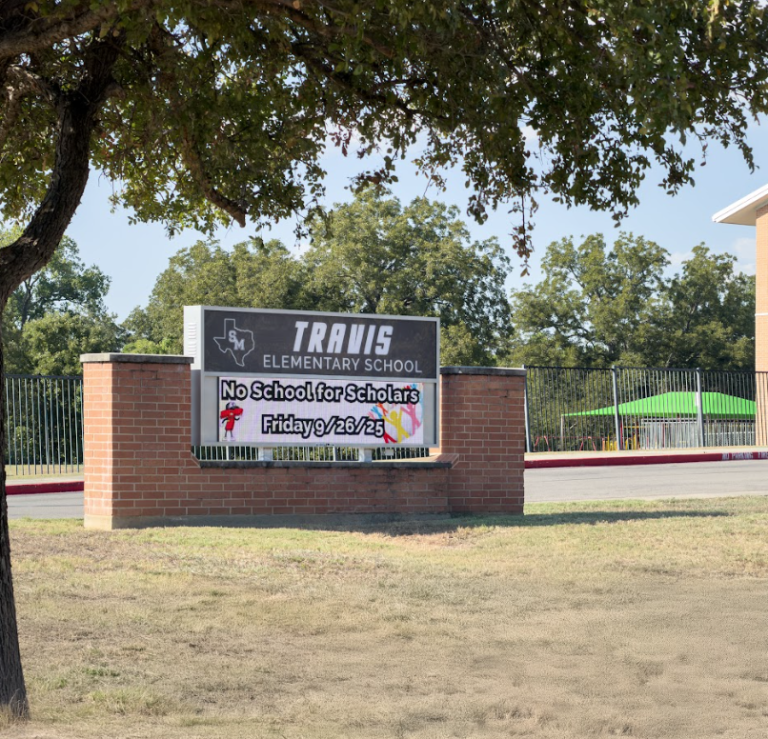
Alpha LED sign boards are great for anything from churches, to schools, to business. They tend to do great in large open spaces, where they are clearly visible.

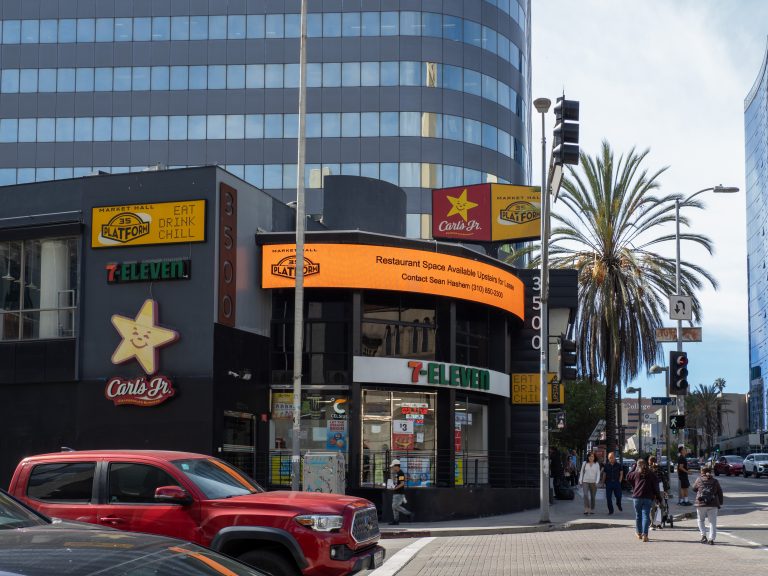
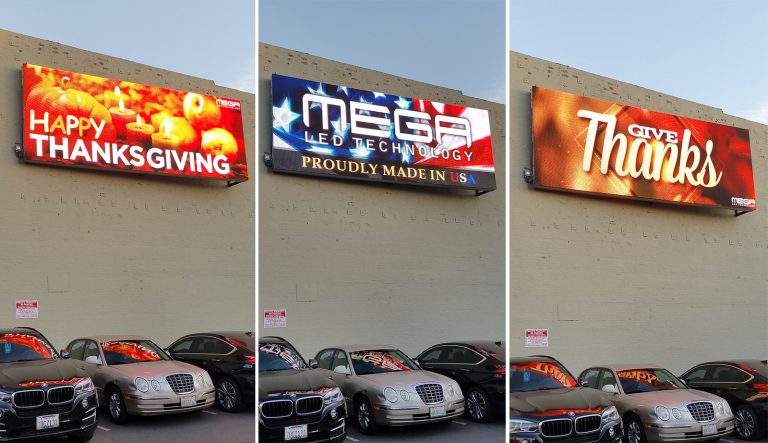
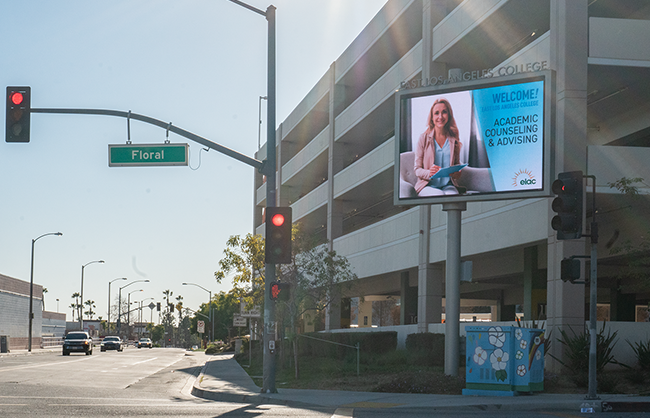
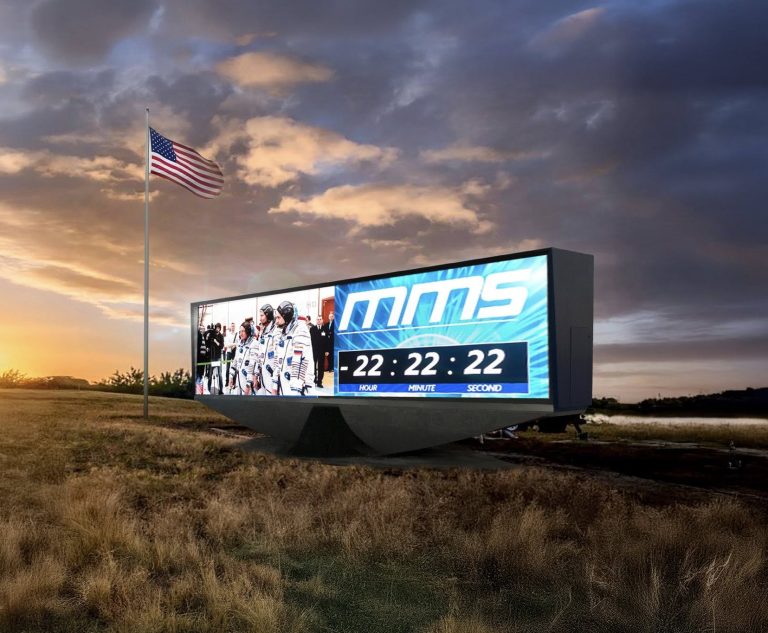
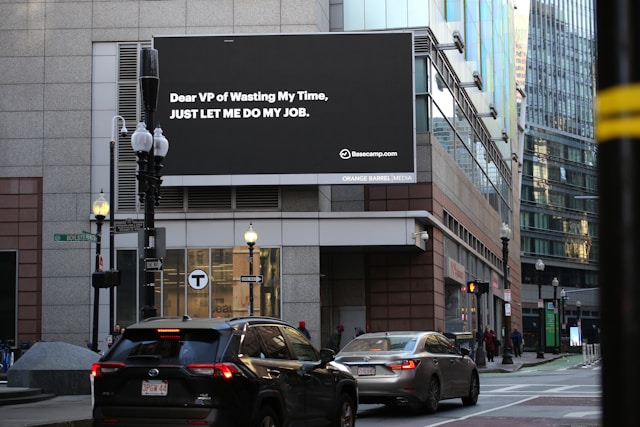
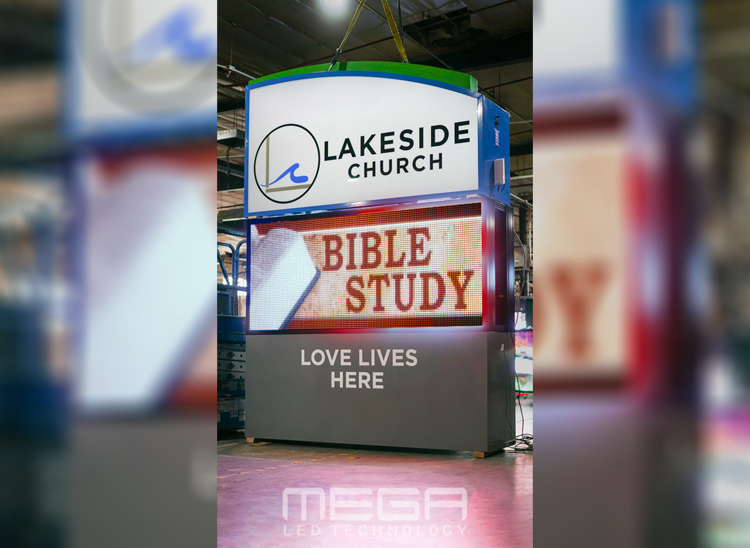
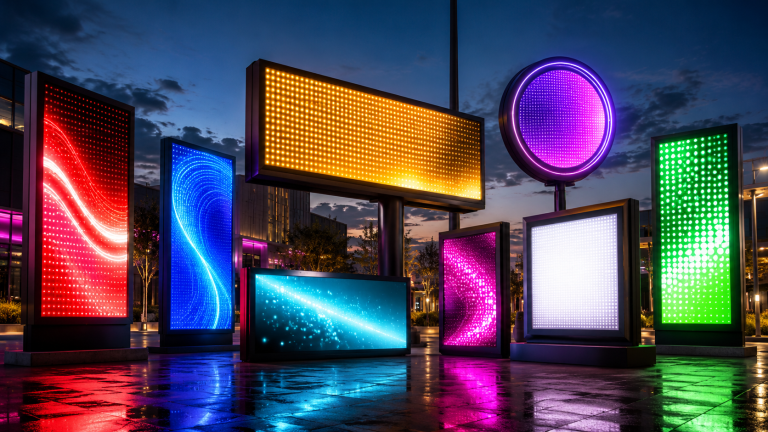
Omega is our newest line of outdoor digital signs. Running the full gambit from cabinet, to LED sign, to logo on top, or any configuration of your choice!

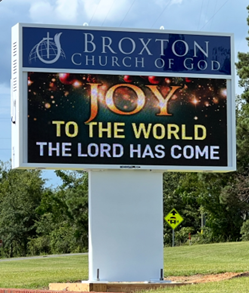
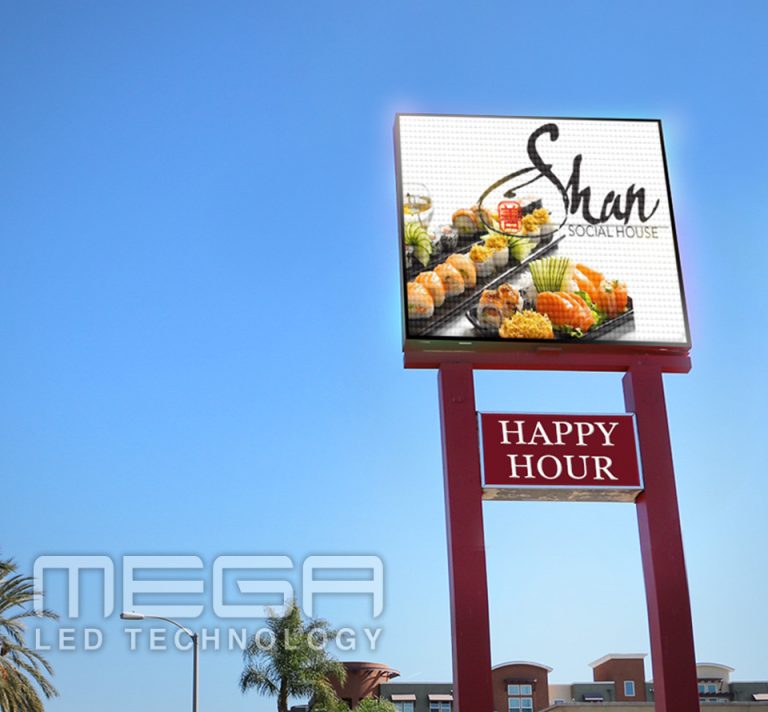
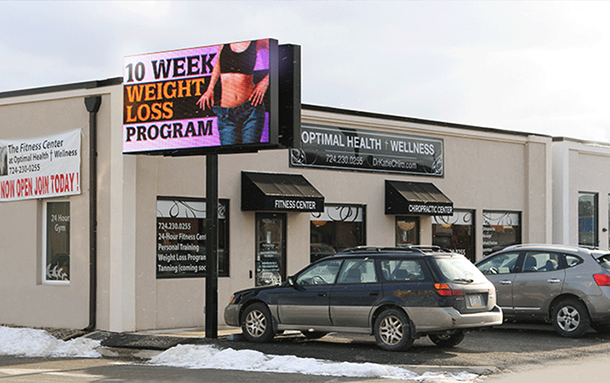
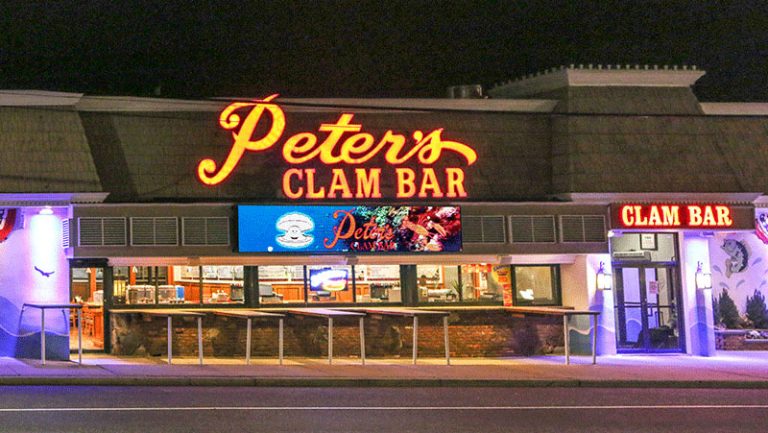
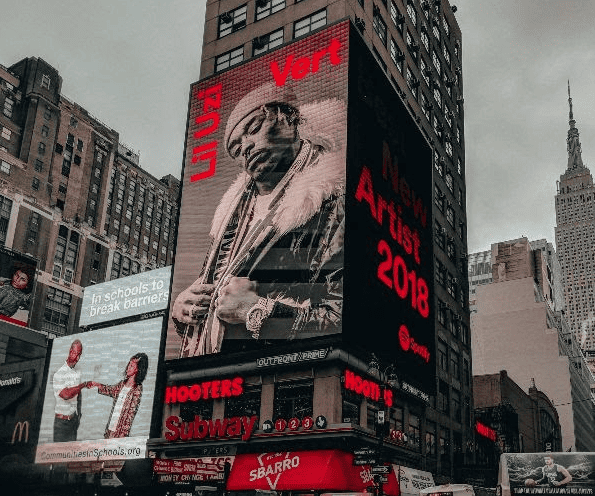
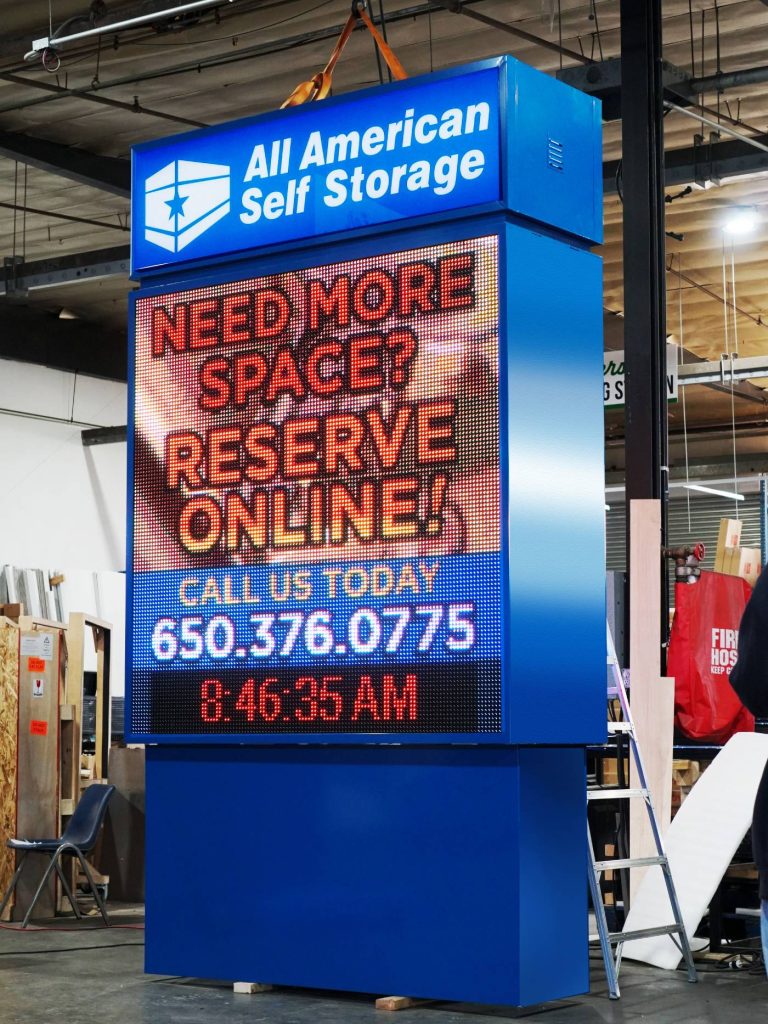
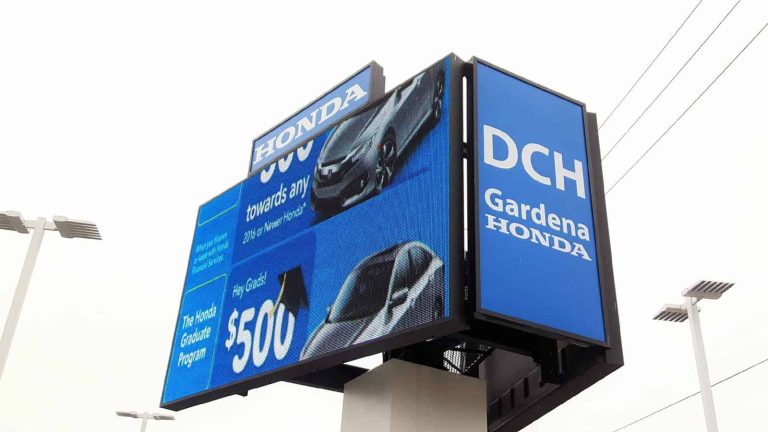
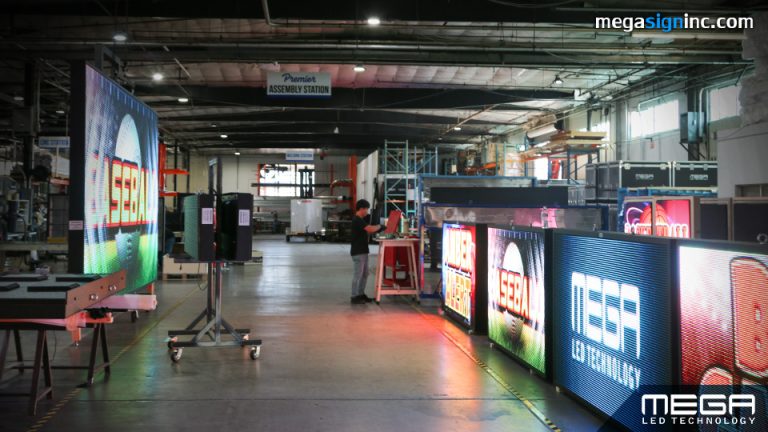
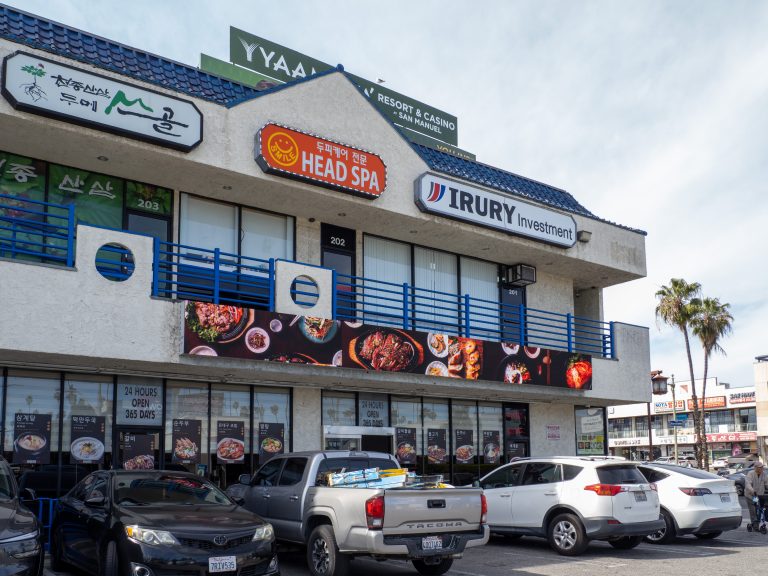
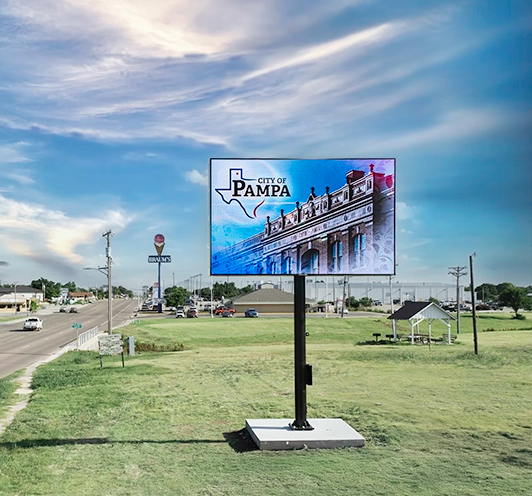
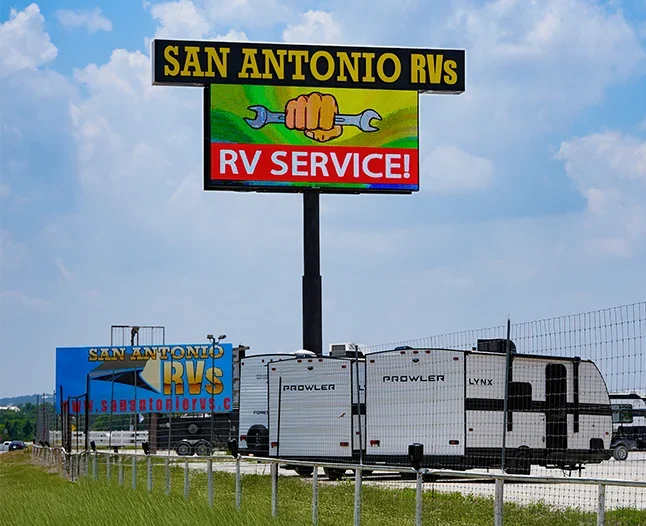
Premier is a customizable Outdoor LED sign, perfect for the Entrepreneur who knows that large custom sized signs cultivated for their specific business is the way to go.

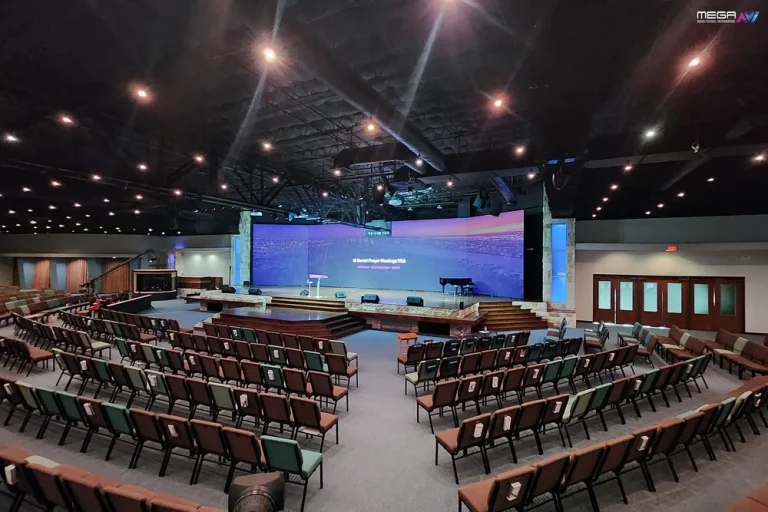
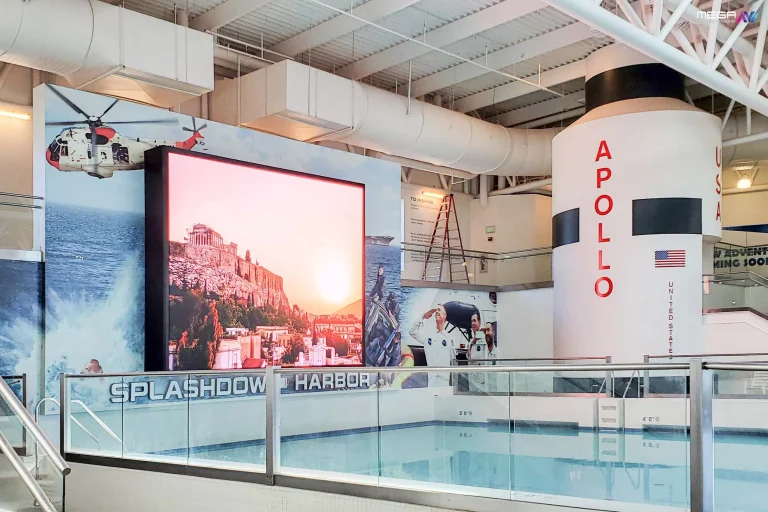
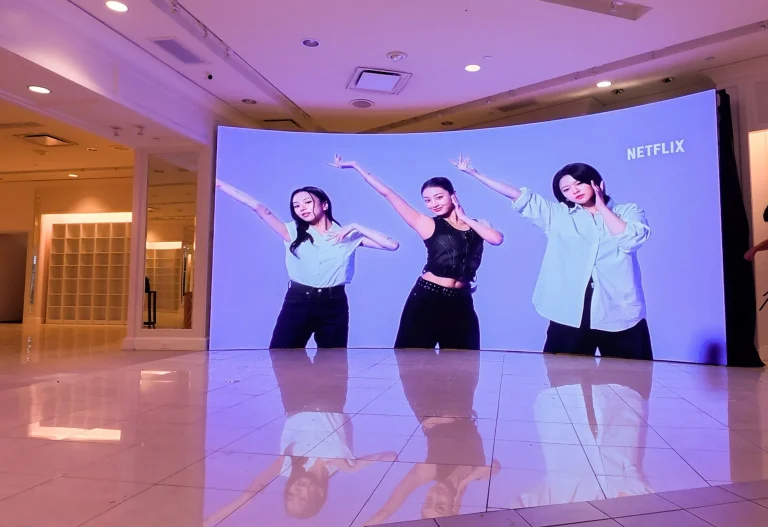
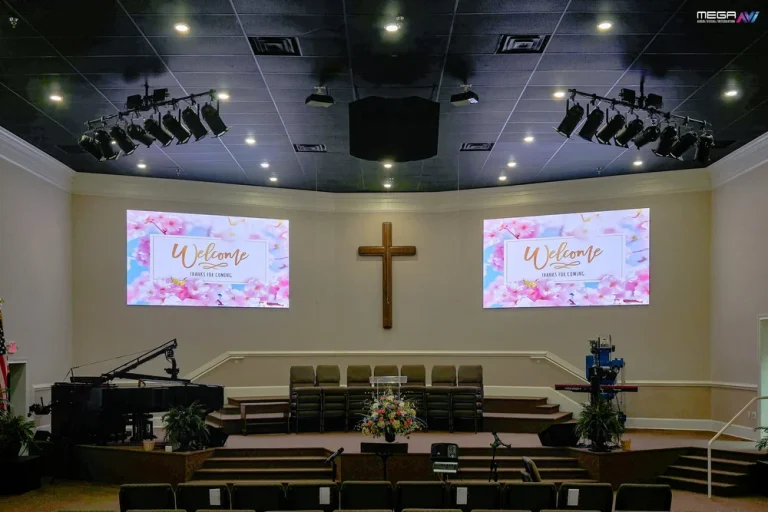
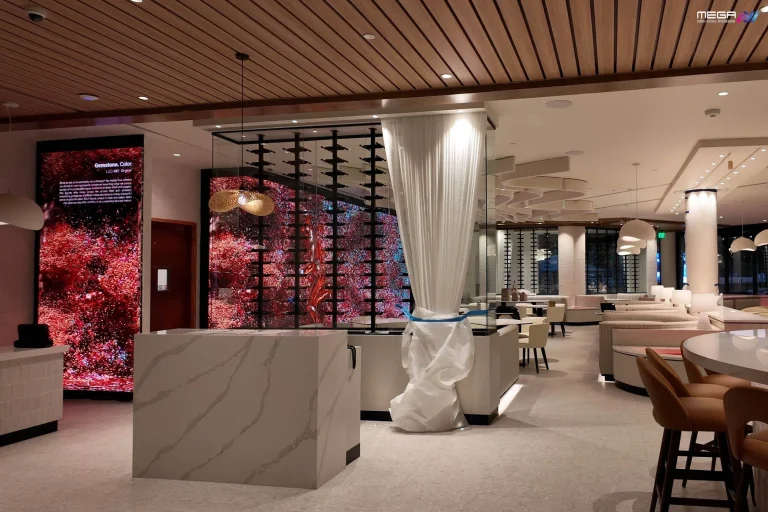
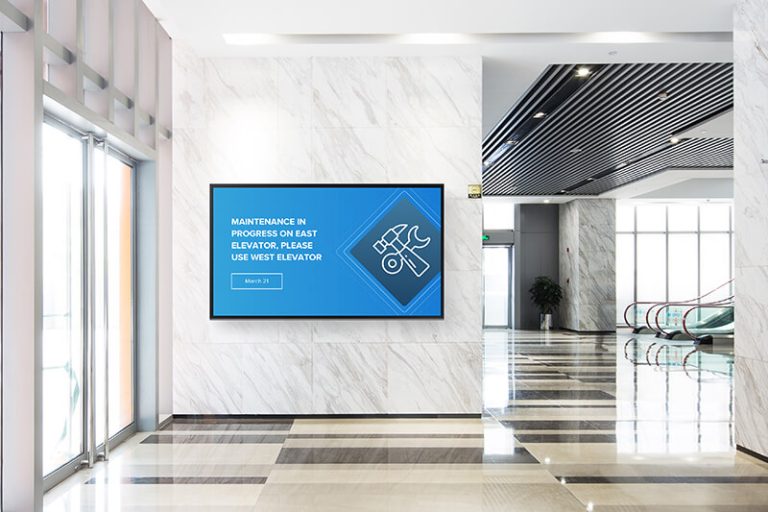
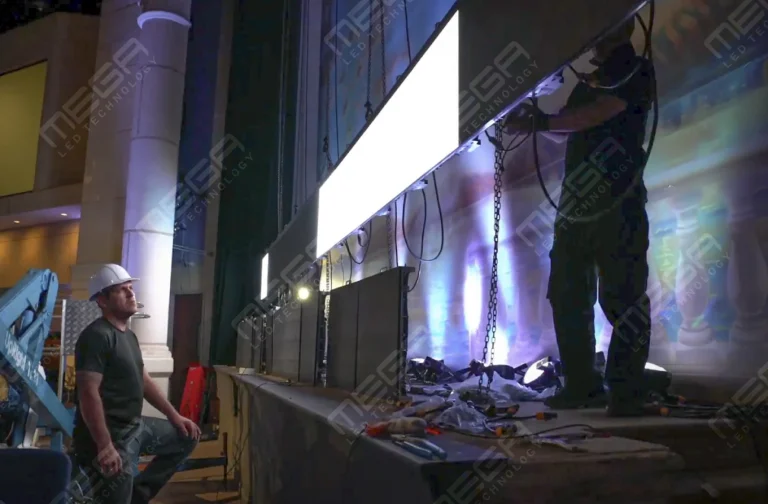
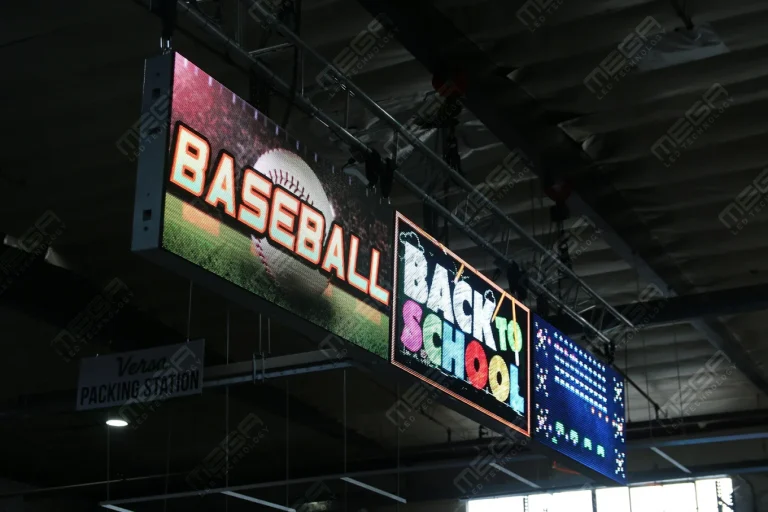
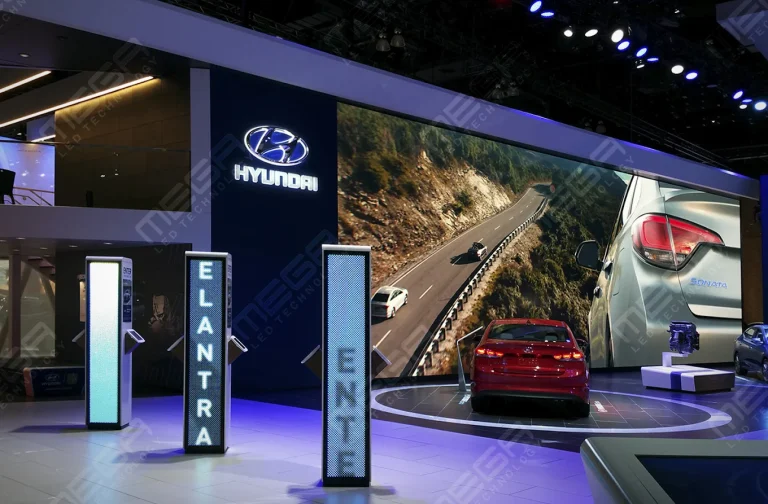
Programmable Stage LED signs, great for indoor assemblies, congregations, and presentations! Blow your competitors out of the water, or keep your congregation and audience glued to your message.

Alpha LED sign boards are great for anything from churches, to schools, to business. They tend to do great in large open spaces, where they are clearly visible.
Omega is our newest line of outdoor digital signs. Running the full gambit from cabinet, to LED sign, to logo on top, or any configuration of your choice!
Premier is a customizable Outdoor LED sign, perfect for the Entrepreneur who knows that large custom sized signs cultivated for their specific business is the way to go.
Programmable Stage LED signs, great for indoor assemblies, congregations, and presentations! Blow your competitors out of the water, or keep your congregation and audience glued to your message.
A backlit sign that glows evenly looks expensive. One with hot spots and dark patches looks homemade. The gap between the two is planning, not luck. This guide walks through materials, LEDs, spacing, power, safety, and cost so your sign lands on the right side of that line.

Making a backlit sign means lighting a translucent face from behind so the graphic glows. A working sign includes a face material, a frame or backing, LED lighting, wiring, and a power supply selected for the full load.
There is a real difference between a simple DIY light-up sign and a durable commercial backlit sign. A craft project may run from a listed low-voltage plug-in supply. A permanent storefront sign must also handle weather, drainage, heat, service access, grounding, permits, and installation rules.
The steps that follow stay the same at any scale:
Plan the whole build before buying parts, because the wrong LED choice early forces expensive rework later.
Safety Note
Do not improvise line-voltage connections, grounding, branch-circuit work, or permanent outdoor wiring from a general article.
In the United States, UL identifies UL 48 for electric signs, UL 879 for electric-sign components, UL 879A for LED sign and retrofit kits, and National Electrical Code Article 600 among the common standards and requirements for this work. Enclosures, wire entries, connectors, power supplies, disconnects, bonding, drainage, and mounting all have to suit the application.
Before buying parts, write down the finished sign size, actual lit area, cabinet depth, indoor or outdoor location, face material, lighting style, daily operating hours, and power location. Also decide who will connect it, how the cabinet will drain, and how it will reopen for service.
These details determine LED spacing, brightness, weather protection, wiring, and cost. Do not order lighting until the illuminated dimensions, available depth, environment, and service plan are clear.
A backlit effect happens when a light source sits behind or around the visible surface and shines through or past it. The goal is a clean, even glow, not a cluster of visible dots.
Three things control the result: diffusion, LED spacing, and the contrast between the lit graphic and its background. Get those right and the face reads as one smooth sheet of light. Get them wrong, and the eye catches every individual LED.
The effect can be subtle or bold. A halo of light behind raised letters reads soft and premium, while a fully illuminated face shouts for attention from across a parking lot. Decide the look first, since it changes every material and spacing choice that follows.

The backlight is the light source sitting behind the sign face, and it does the heavy lifting. Your options are LED strips, LED modules, LED sheets, light panels, and older fluorescent-style tubes.
LEDs win for most projects because they are efficient, flexible, and easy to control. The U.S. Department of Energy’s DOE LED basics explains that LEDs are by far more efficient than incandescent lighting and emit less radiant heat toward the sign face, but they still generate heat that must be conducted away from the LED packages and power electronics.
The best backlight depends on the sign’s size, shape, depth, and how bright you need it. A small, shallow sign suits modules or sheets, while a tall cabinet may take strips run in rows.
There are three common approaches to light a sign face: edge lighting, direct backlighting, and full-panel backlighting. Each spreads light differently.
Edge lighting feeds light in from the sides of a clear light-guide panel, which then glows across its surface, ideal for thin, even signs. Direct backlighting places LEDs behind the face pointing forward, the brightest option but the one most prone to hot spots. Full-panel backlighting uses LED sheets or light panels for broad, uniform coverage.
| Backlight method | How it lights | Best for | Even-glow tip |
|---|---|---|---|
| Edge lighting | Light enters the sides of a clear light-guide panel | Thin, shallow signs | Use a quality light guide panel |
| Direct backlighting | LEDs face forward | Bright, deep cabinets | Follow spacing charts, add depth and a diffuser |
| Full-panel lighting | A sheet or panel spreads light across the area | Wide, shallow faces | Match sheet size to the area, keep seams and active spacing consistent |
Skip the trial and error and tell us what you need lit up. We will quote a professional LED sign built and tested before it ships.
Building from scratch works best when you plan the system around the exact area you need to light. LED sheets shine here because they cover wide, shallow, or evenly lit faces with less fuss than rows of strips.
The build moves in order:
Skipping the measuring and calculating steps is what leaves people short on parts or stuck with dark corners.
Start by naming what the sign actually is: indoor or outdoor, decorative or commercial, small or large. That single decision drives brightness, waterproofing, materials, and power.
An indoor accent sign and an outdoor storefront sign have almost nothing in common under the hood. Decide too whether you want full-face illumination, halo lighting, or simple accent lighting, because each needs a different LED layout.
Measure the width and height of the area that needs to glow, not the whole sign. Borders, frame depth, and hidden mounting strips usually shrink the lit area below the sign’s outer size.
Write down the real illuminated dimensions before shopping for LEDs. We have seen people order LED sheets to the sign’s full width, then find the frame covers two inches on each side and leaves them with overlap they cannot use.
Match the product to the cabinet instead of forcing the cabinet around a product already bought. Check voltage, watts per module or square foot, optic angle, recommended depth, row spacing, cut points, maximum run length, temperature limits, and environmental rating.
For outdoor work, every relevant component must suit the location. A waterproof strip alone does not protect connections or the supply. Indoors, confirm that the face, adhesive, backing, and enclosure tolerate operating temperature. Use listed or recognized sign components where required.
Our Premier outdoor LED signs arrive sealed, wired, and ready to mount, no LED math or hot spots to chase. See the line built in the USA.
Start with the manufacturer’s chart. It sets module spacing, edge setback, and distance to the face. Without it, you’re guessing.
For Example: Lighting a 72 x 36 inch sign with 480 x 240 mm (18.9 x 9.4 inch) sheets:
For power: sheets × peak watts per sheet, then add 20% headroom. Use the peak rating, not the average, or you’ll undersize the supply.
Mount LED sheets on a clean, stable, heat-safe surface. Adhesive backing alone often loosens over time, so add clips or a backing board for anything that has to last.
Route wires neatly and secure them before you close the sign. Always power up and test the full layout before fixing the face panel down. We have found that one test run catches bright spots and dead zones while they are still easy to fix.
The best face material passes light evenly while standing up to the environment. Common choices are acrylic, polycarbonate, aluminum composite for frames, translucent vinyl, and fabric.
Acrylic is the workhorse for backlit faces because it diffuses light well and machines cleanly. Polycarbonate trades some clarity for impact resistance, useful where a sign might get hit. ENERGY STAR’s ENERGY STAR lighting resource notes LED sources use at least 75% less energy than older lighting, so the heat that used to yellow plastic faces is far less of a problem now.
LED systems generally place less radiant heat on the face than older lamps, but outdoor face life still depends on UV stability, material grade, cabinet temperature, graphics and cleaning chemicals.
Our Alpha LED sign boards give you an even, bright face without building a cabinet from scratch. Ask which size fits your space.
Cabinet depth controls how far the light spreads before it hits the face, which decides brightness, evenness, and whether you see individual LEDs. Shallow cabinets show dots unless the LED layout is tight and a diffuser sits in front.
Deeper cabinets give light room to blend, so you reach a smooth glow with fewer LEDs and fewer visible hot spots. The trade-off is bulk and material cost. As a rough guide, a few inches of depth plus a diffuser handles most direct-lit signs. If you are stuck with a shallow cabinet, tighten the LED spacing and add a stronger diffuser to make up for the lost blending distance, since you cannot add depth after the frame is built.
Cost depends on size, face material, LED type, power supply, frame, wiring, tools, and whether you install it yourself. A small indoor DIY sign can run well under a few hundred dollars, while a large outdoor cabinet climbs much higher.
LED sheets, outdoor-rated materials, and custom fabrication push the budget up fast. The honest trade-off is time and risk: a commercial sign costs more upfront but skips the rework, the hot spots, and the early failures that come with a first DIY attempt.
A finished commercial sign costs more upfront because the price includes more than LEDs and a face. Our Premier outdoor LED signs and Alpha LED sign boards arrive sealed, wired, and tested before shipping, so buyers do not have to source compatible lighting, power supplies, weather-resistant enclosures, connectors, and mounting components separately. That reduces fabrication time, troubleshooting, and the risk of reopening the cabinet to correct hot spots, loose wiring, moisture entry, or an undersized power system.

Most failures begin with spacing, power selection, or installation. Uneven light, voltage drop, loose modules, overheated supplies, and the wrong face are common results.
The DOE reliability guidance treats drivers, thermal design, materials, and connections as parts of the complete LED system. LED life alone does not predict sign life.
Rushing the layout is what leads to costly rework, because a sign that hot-spots have to be opened and re-spaced. An undersized power supply is just as common. The U.S. Department of Energy’s LED luminaire lifetime guide notes power supplies and drivers often fail before the LEDs do, so a supply run at its limit shortens the whole sign’s life. Testing before final assembly is the cheapest fix for nearly all of these.
Hot spots appear when LEDs sit too close to the face or are spaced unevenly. The light has no room to blend, so each diode burns through as a bright dot.
Fix it by adding depth, spacing the LEDs evenly, using a diffuser, or switching to LED sheets for smoother coverage. Test the lighting before final assembly so you can catch bright spots and dark corners while the face is still off. That one habit prevents the mistake that ruins most homemade signs.
A sealed, weather-rated LED sign saves years of trouble. https://www.megasigninc.com/premier-outdoor-led-signs/
A mid-size LED sign board gives an even, bright face. https://www.megasigninc.com/alpha-led-sign-boards/
Follow the LED sheet steps above and test before you seal it. https://www.megasigninc.com/contact/
Talk to our team about a ready-made LED display. https://www.megasigninc.com/contact/
You make an LED backlit sign by lighting a translucent face from behind with evenly spaced LEDs. Start by deciding indoor or outdoor and what look you want, then measure the exact area that needs to glow. Choose a sealed LED sheet or strip rated for that environment, calculate how many you need by dividing the lit area by each one’s coverage, and size the power supply to the total. Mount the LEDs on a clean, heat-safe surface, route and secure the wiring, then test the full layout before fixing the face down.
Cost varies widely with size, materials, LED type, and whether you build or buy. A small indoor DIY sign can come in under a few hundred dollars, while a large, weather-rated outdoor cabinet runs much higher once you add sealed LEDs, a proper power supply, and a durable face. Tools and rework add hidden cost to a first build, since hot spots and underpowered systems often mean opening the sign back up. A finished commercial sign costs more upfront but removes that risk and usually lasts longer, which is why many buyers compare the true all-in DIY cost against a ready-made display before deciding.

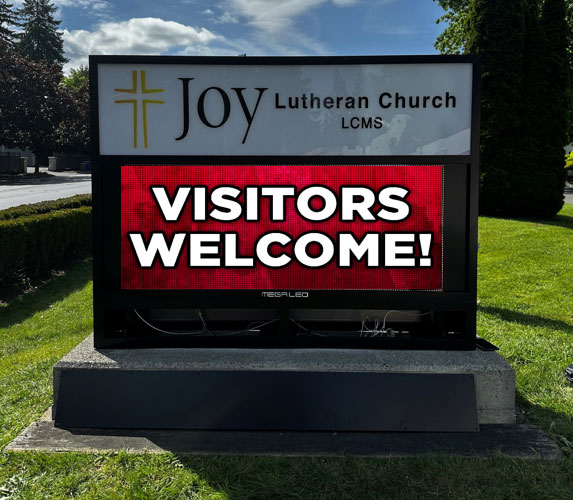



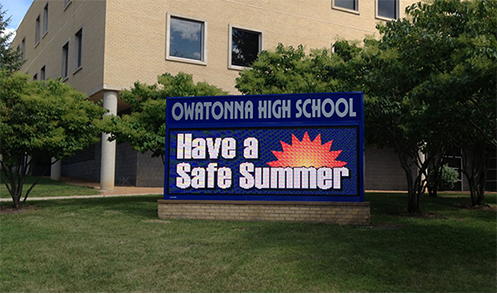



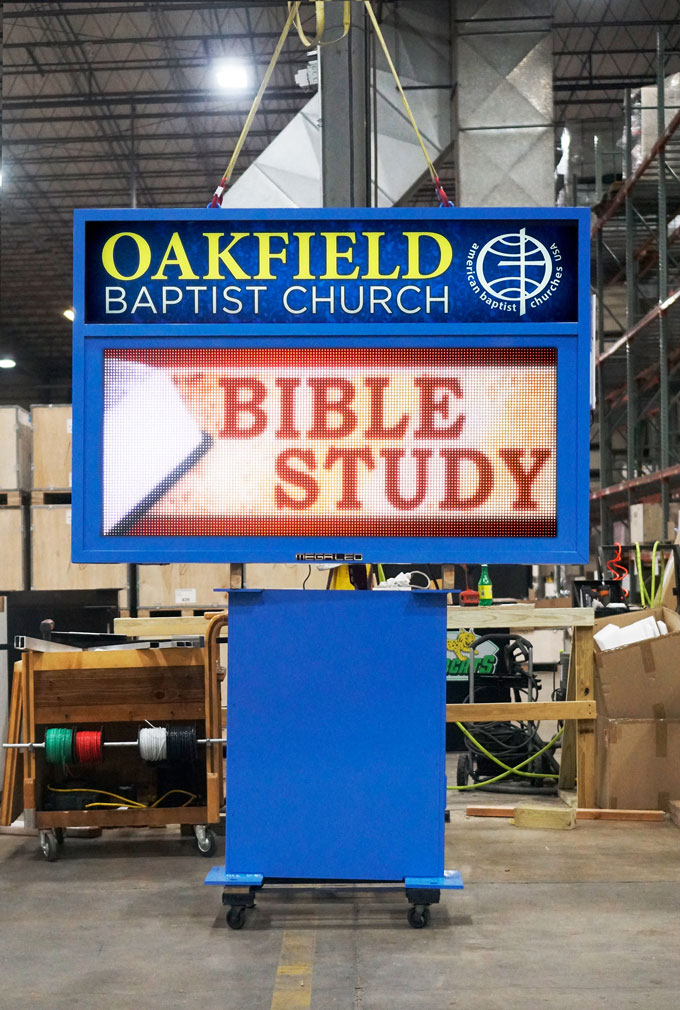


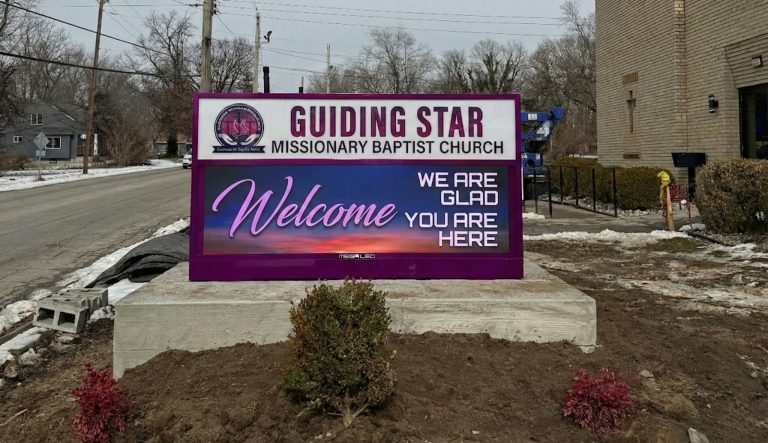
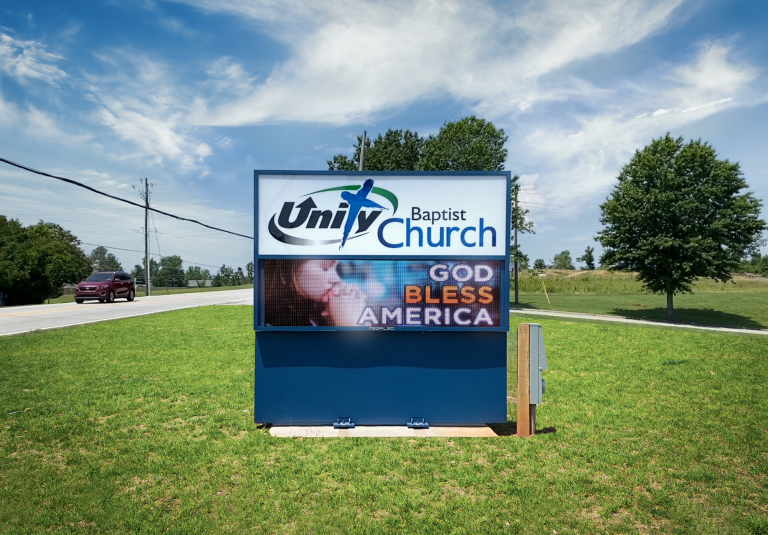




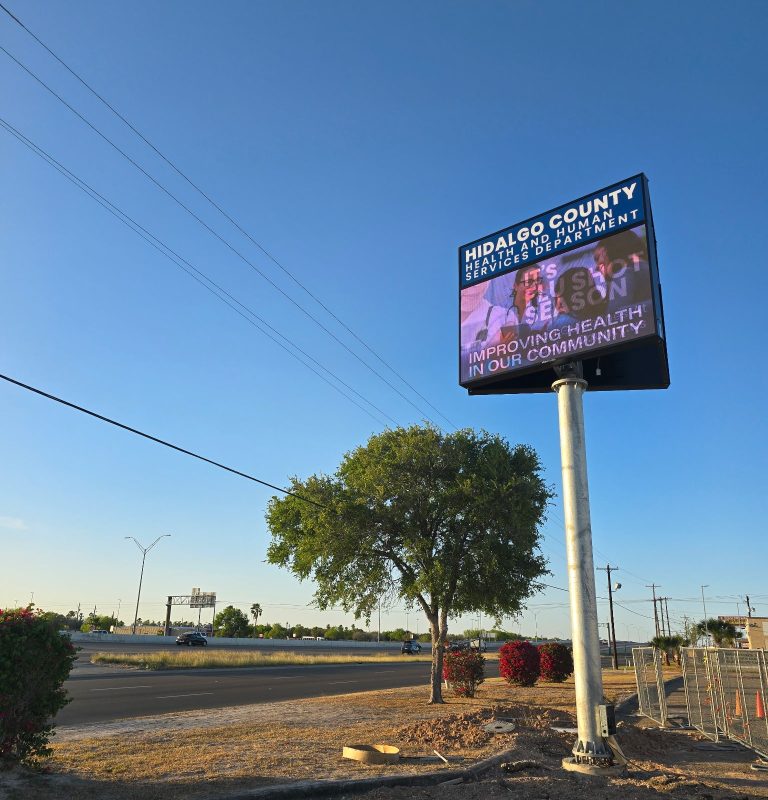

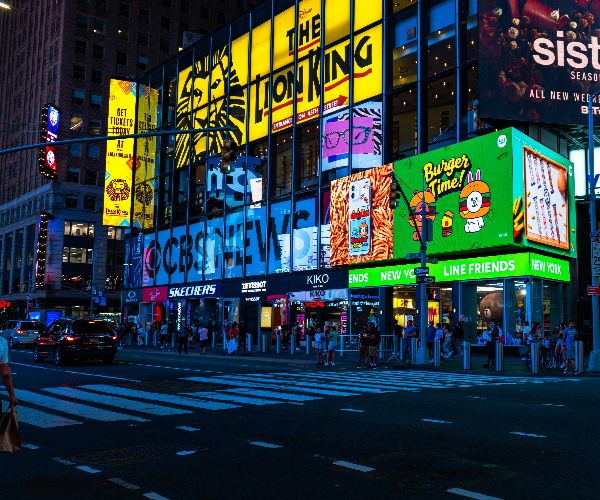


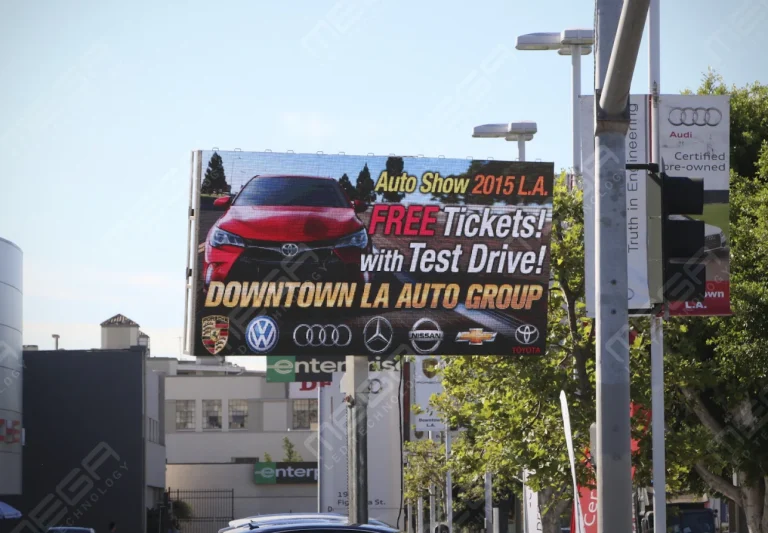


Alpha LED sign boards are great for anything from churches, to schools, to business. They tend to do great in large open spaces, where they are clearly visible.
Omega is our newest line of outdoor digital signs. Running the full gambit from cabinet, to LED sign, to logo on top, or any configuration of your choice!
Premier is a customizable Outdoor LED sign, perfect for the Entrepreneur who knows that large custom sized signs cultivated for their specific business is the way to go.
Programmable Stage LED signs, great for indoor assemblies, congregations, and presentations! Blow your competitors out of the water, or keep your congregation and audience glued to your message.